Product Details
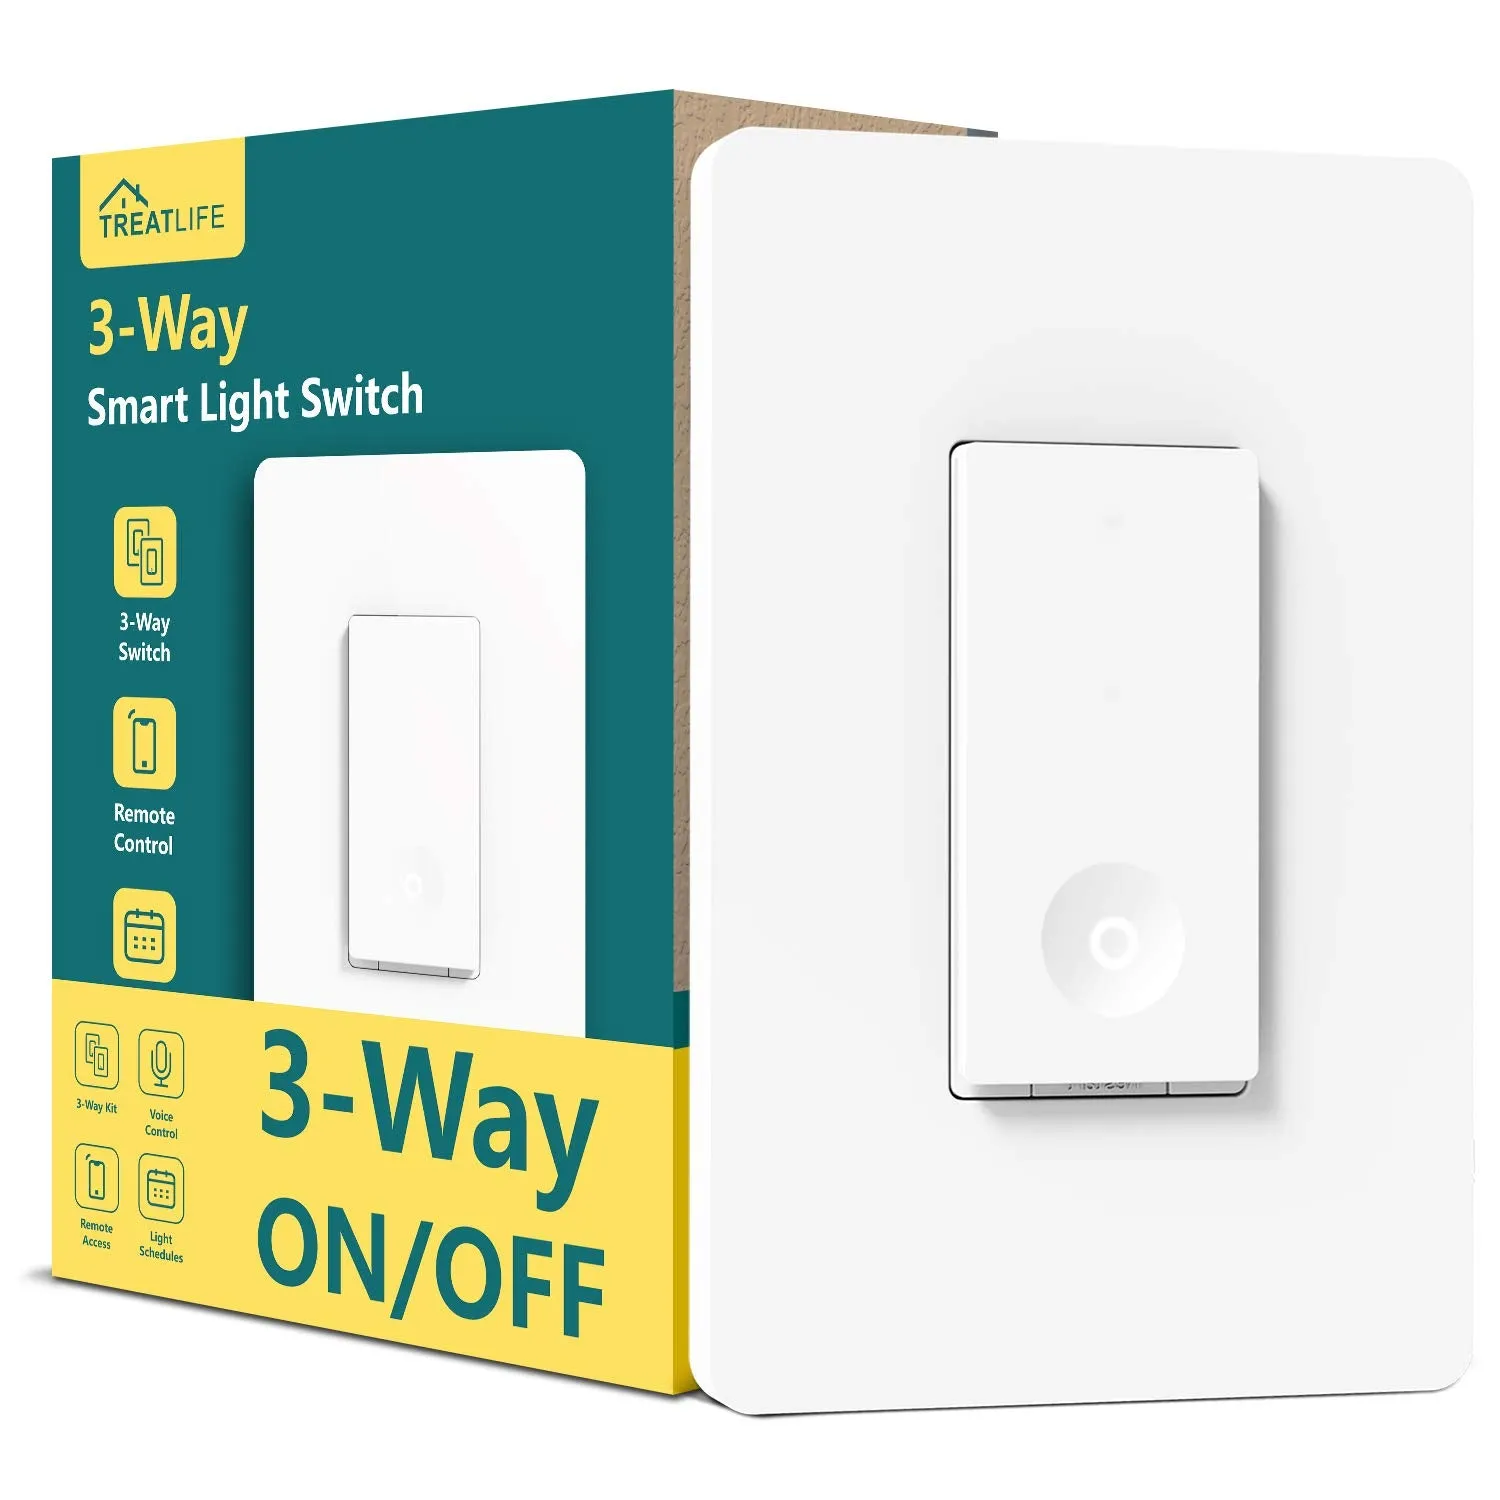
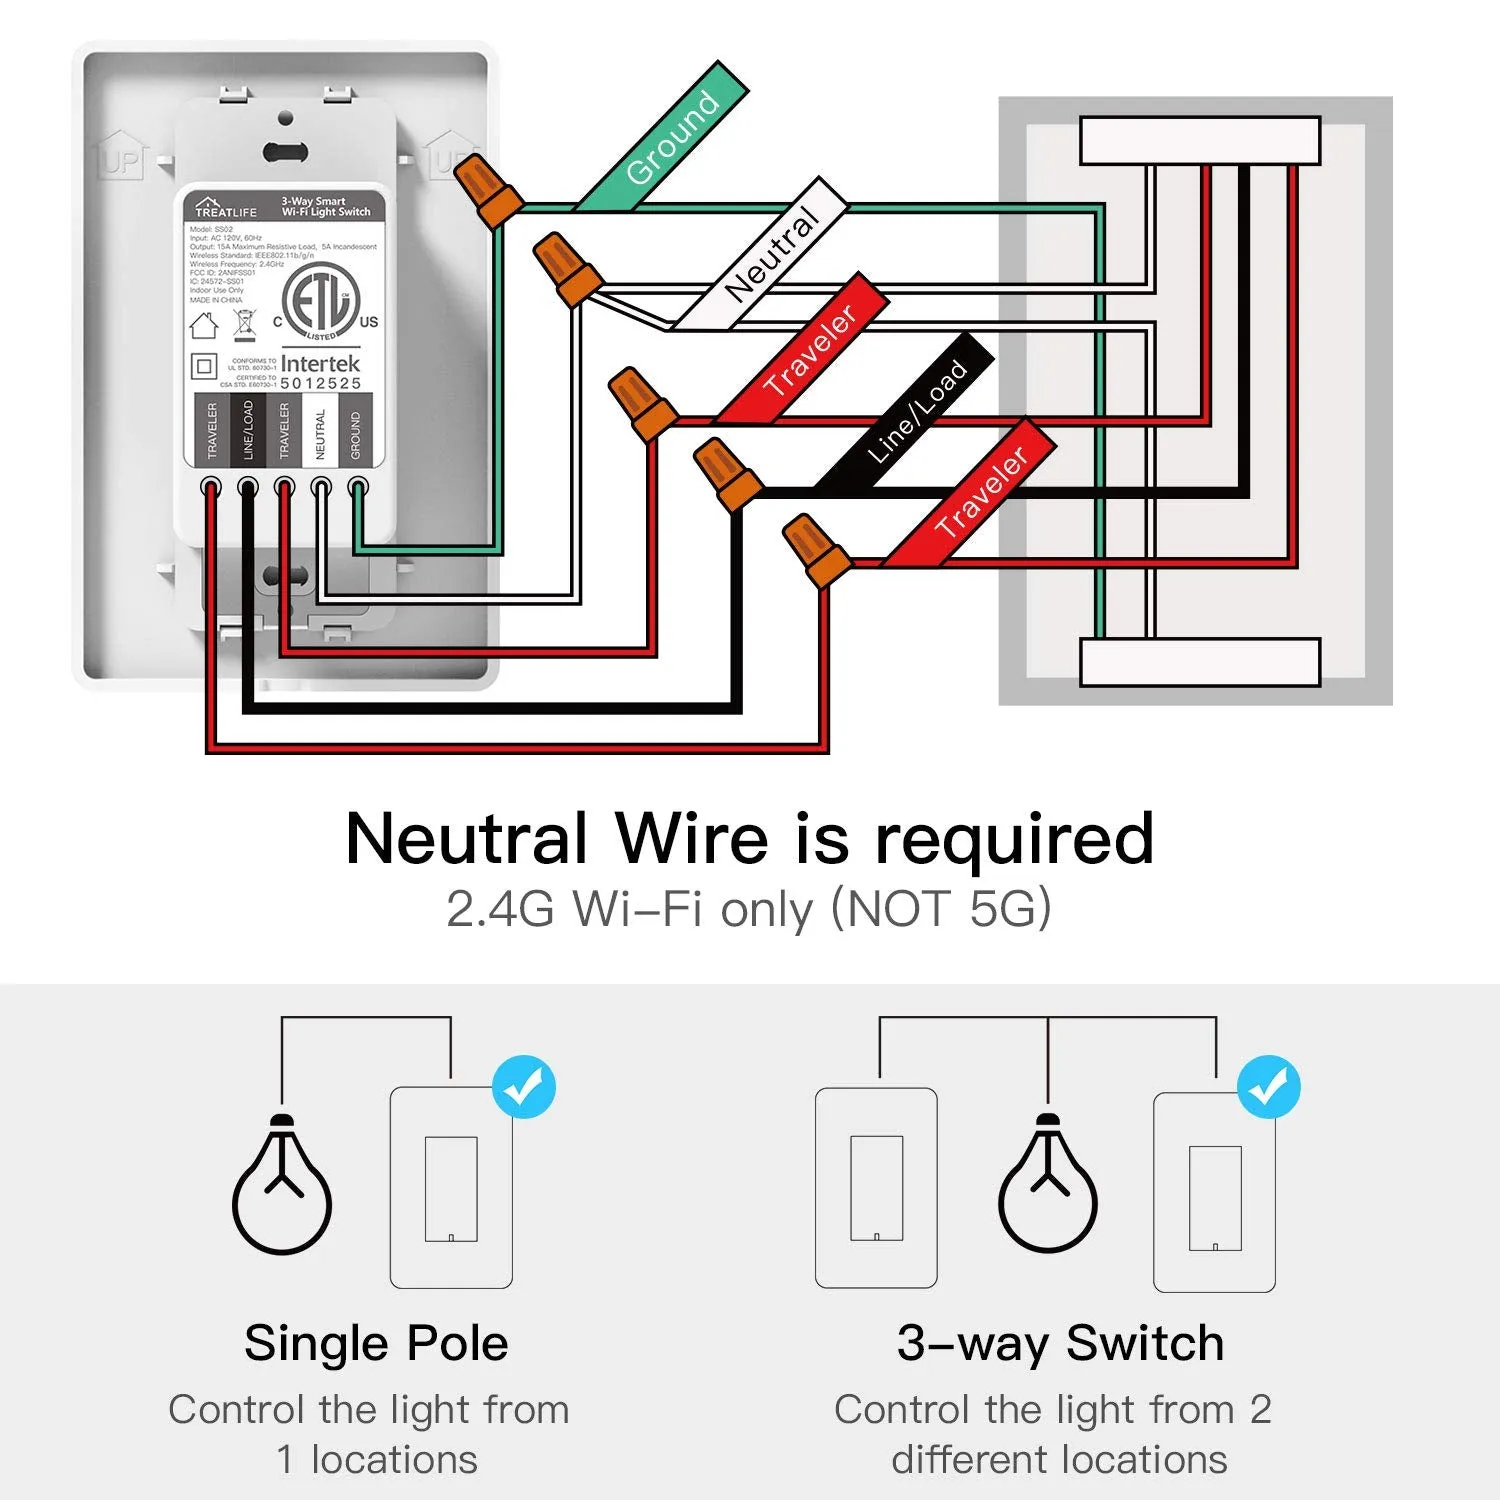
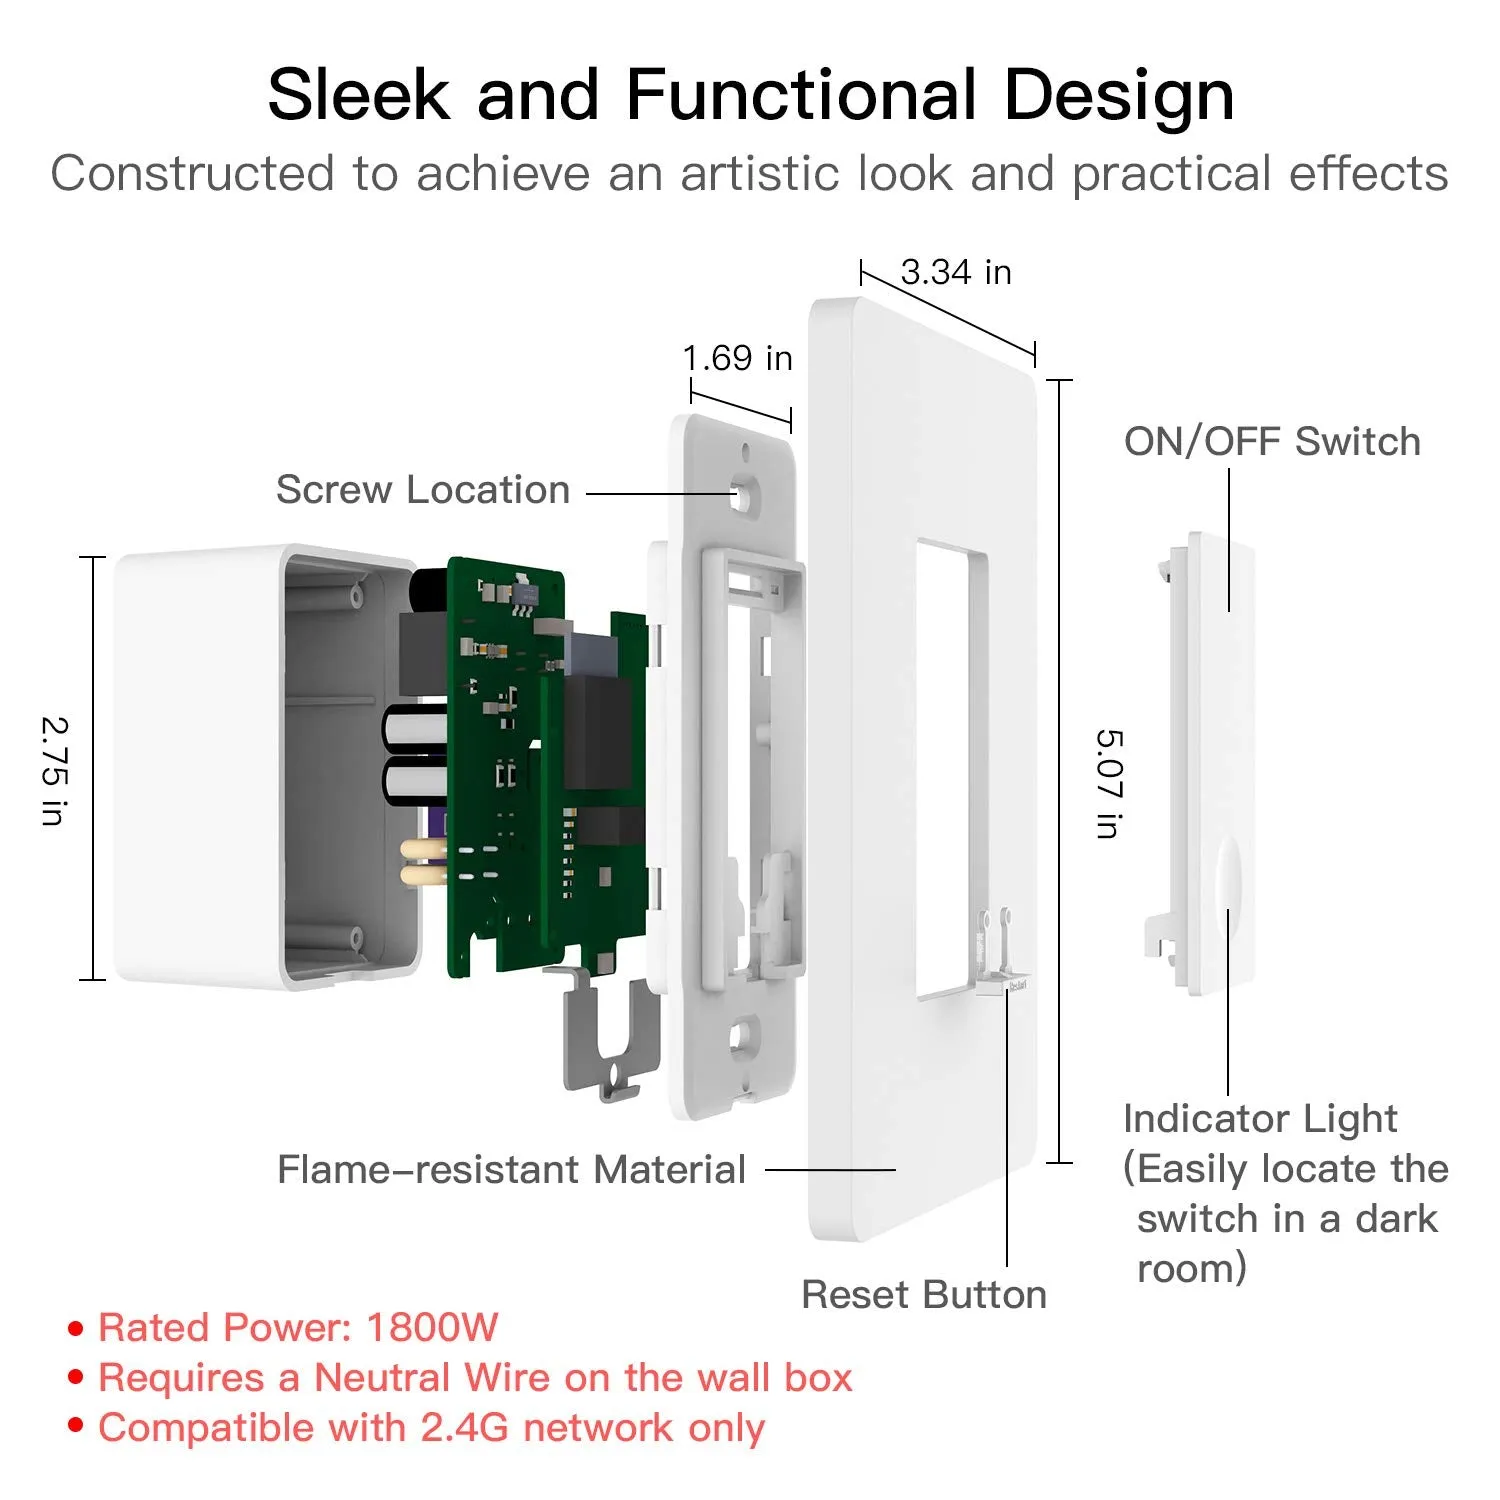
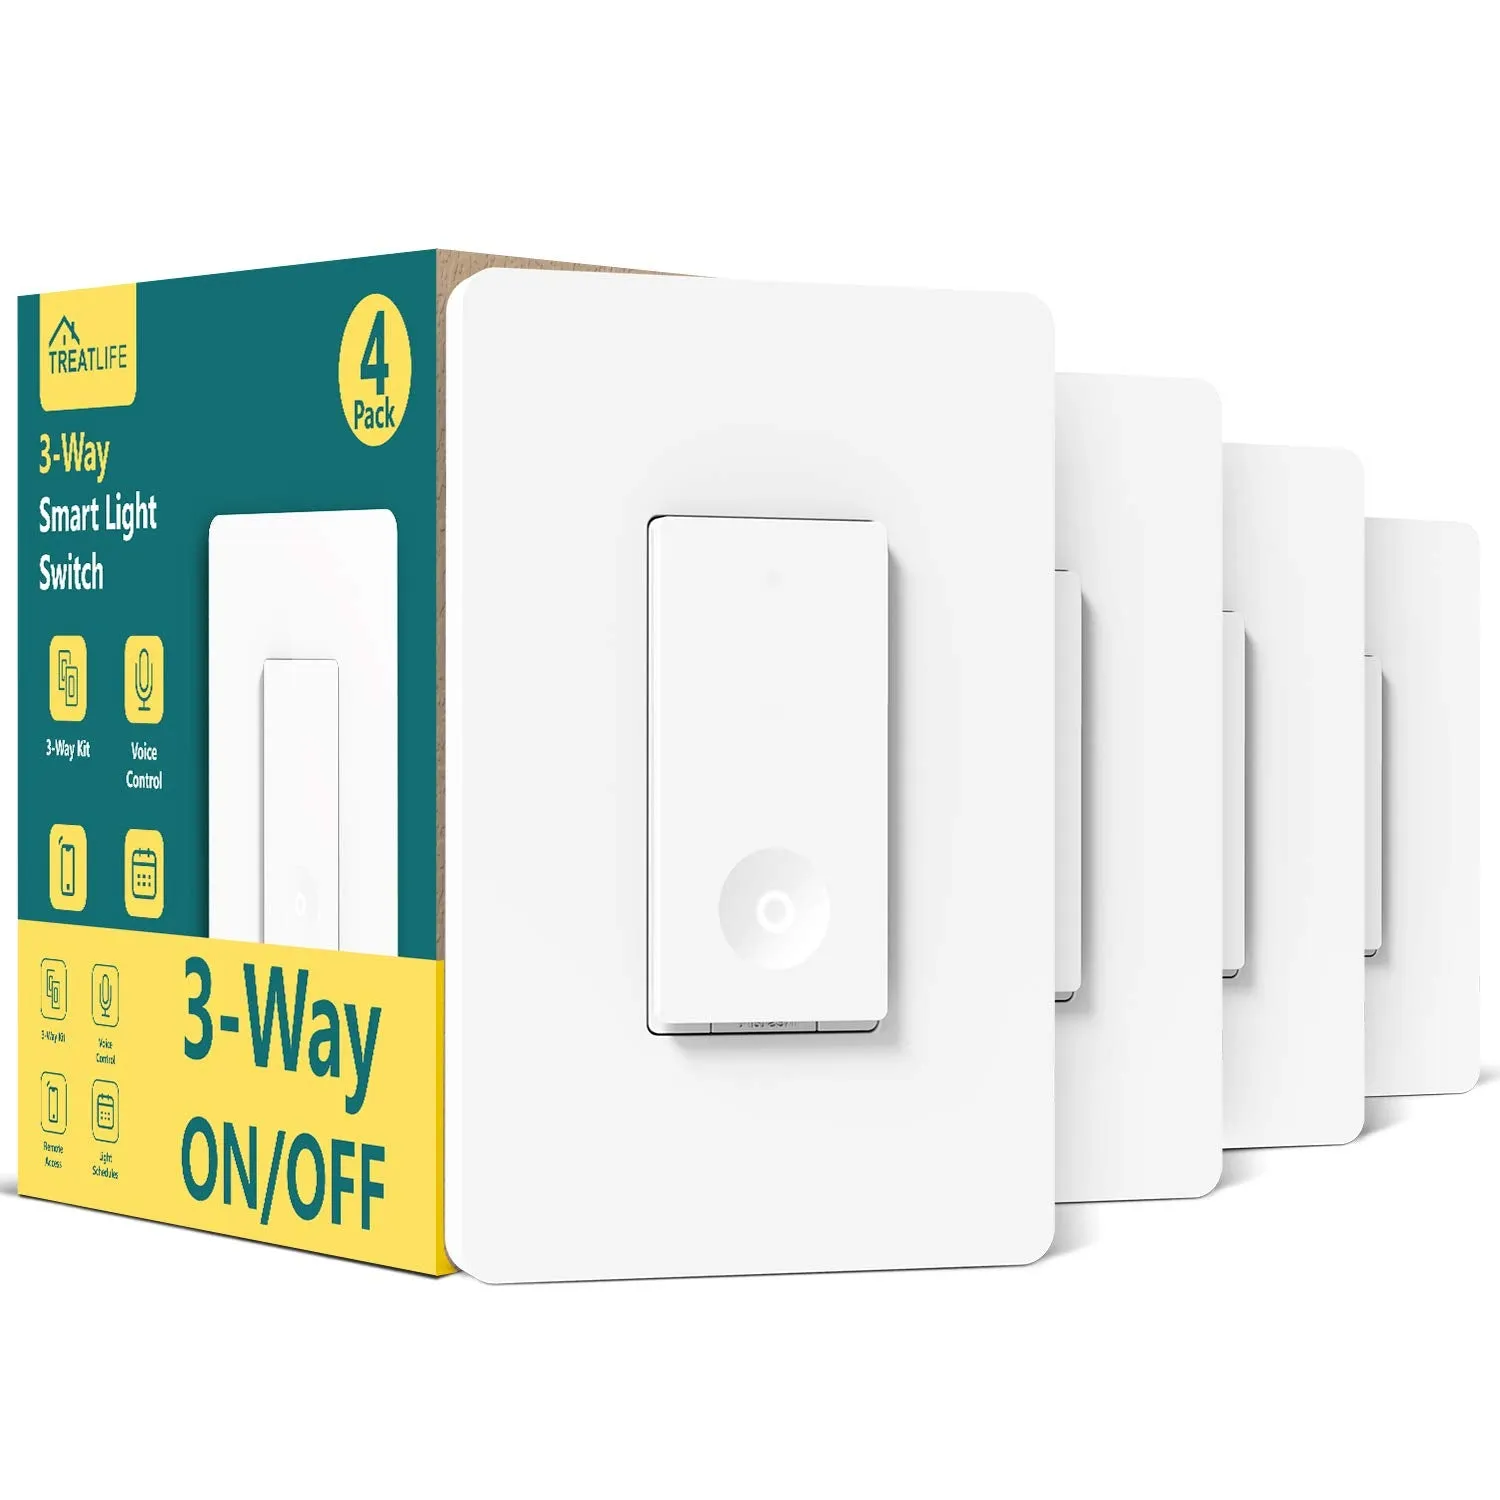
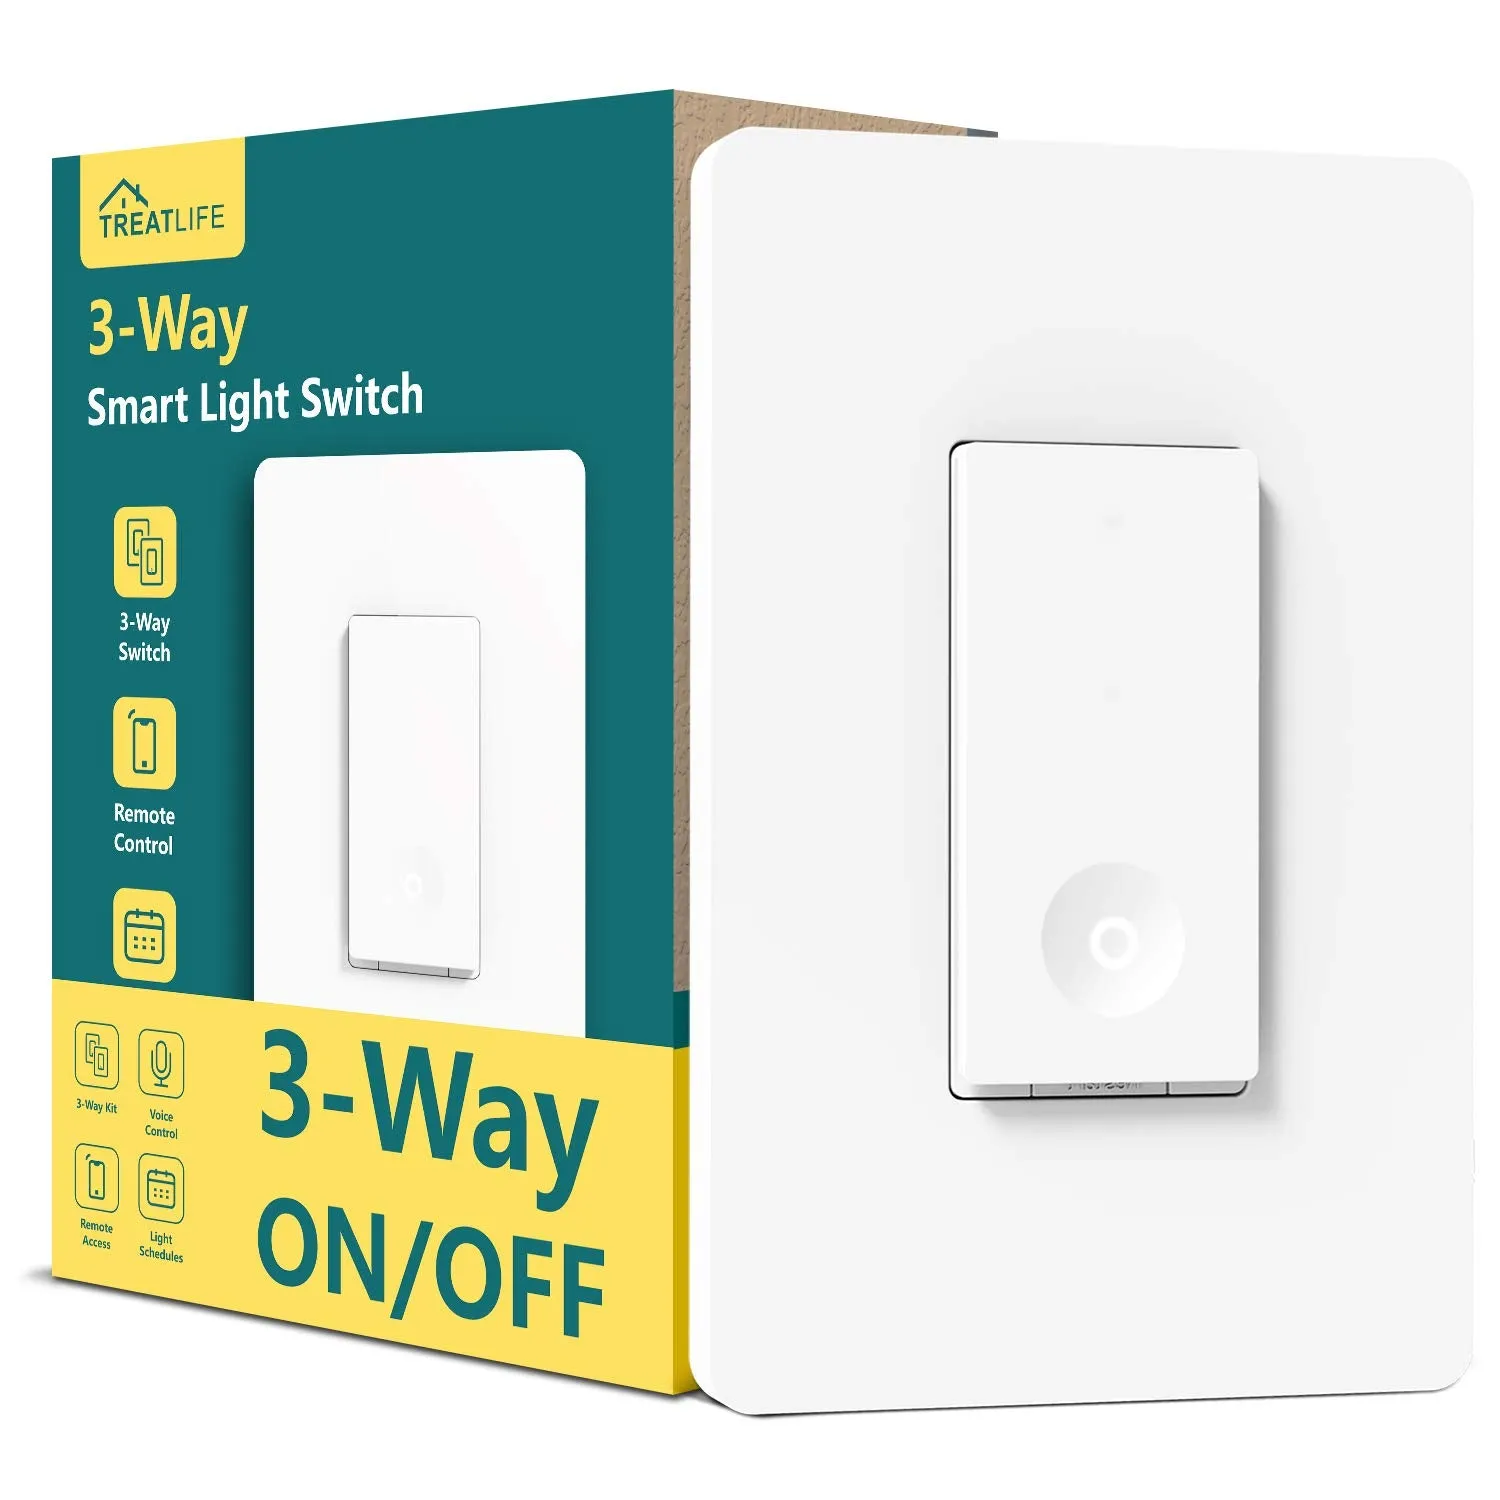
+- EASY AND SAFE TO INSTALL: Neutral Wire is required; Step-by-step instructions will guide you through the wiring process. standard size; screwless snap-on wall plate; no hub required. For 2.4G Wi-Fi only (NOT 5G). Max Power: 1250W. Output Current: 10A.
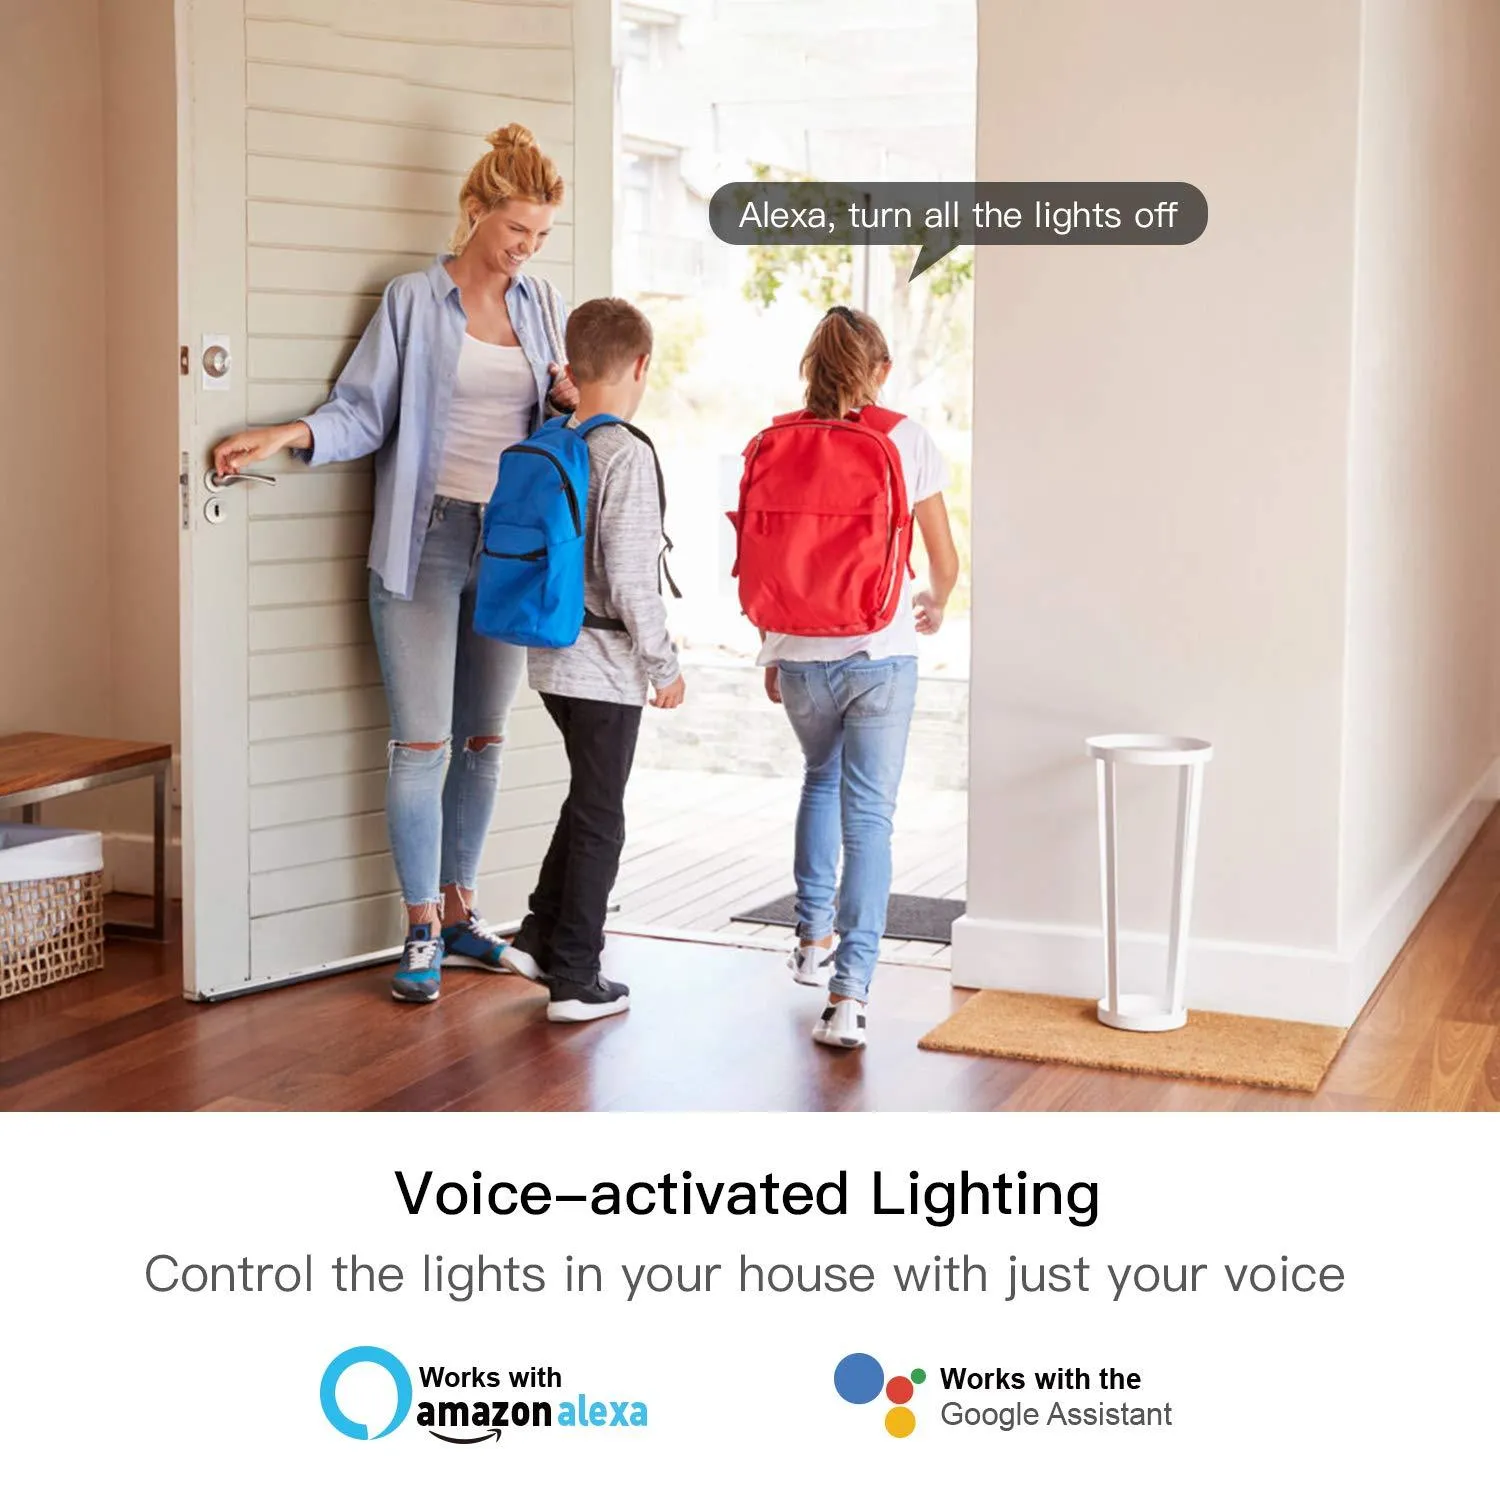
- VOICE CONTROL: Enjoy the hands-free convenience of controlling the lights in your home with your voice via Amazon Alexa and Google Assistant; perfect for times when your hands are full or entering a dark room.
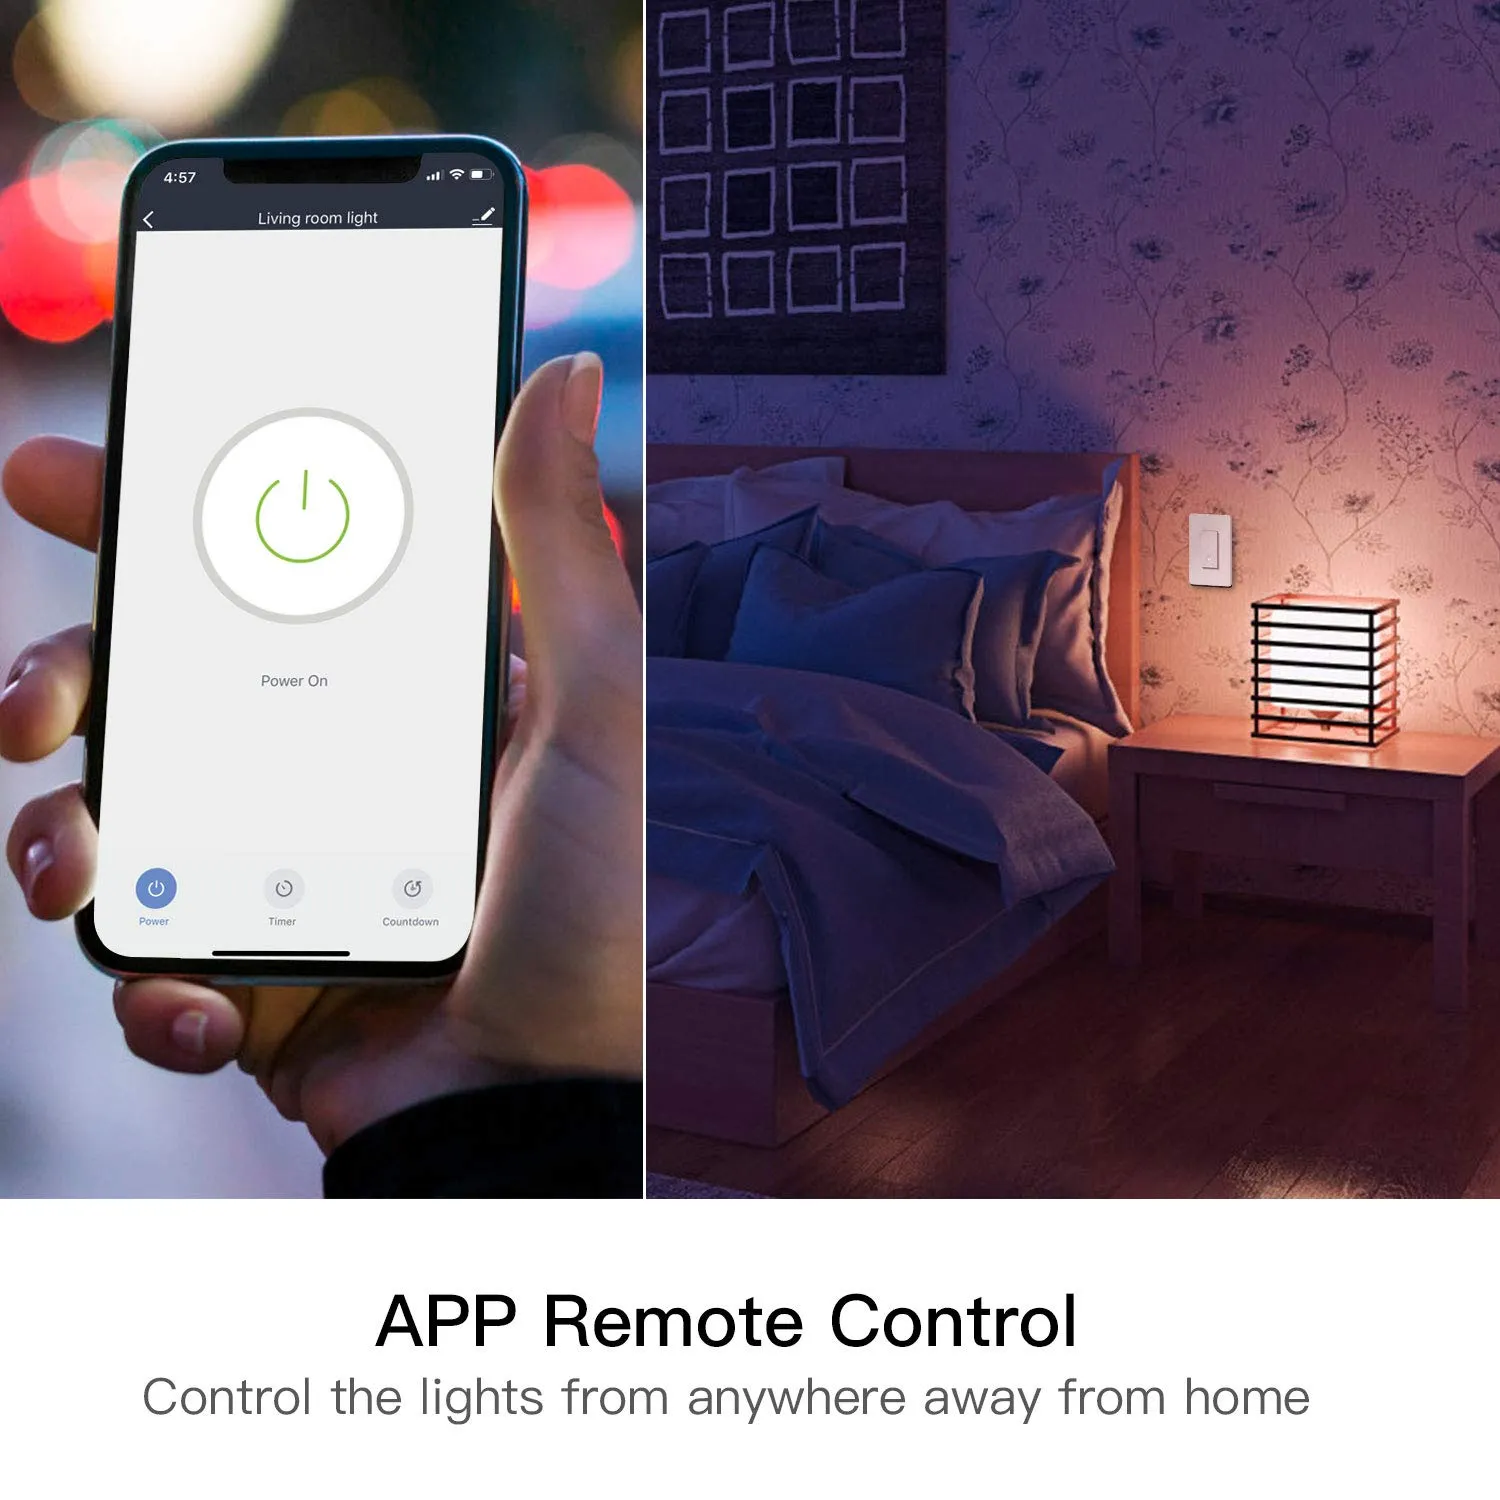
- REMOTE CONTROL: Control the light from anywhere using your smartphone, whether you are in your cozy bed, in the office or on vacation. You can create schedules, monitor real-time light status, share devices and even control a group of lights in your house with a tap of the phone screen.
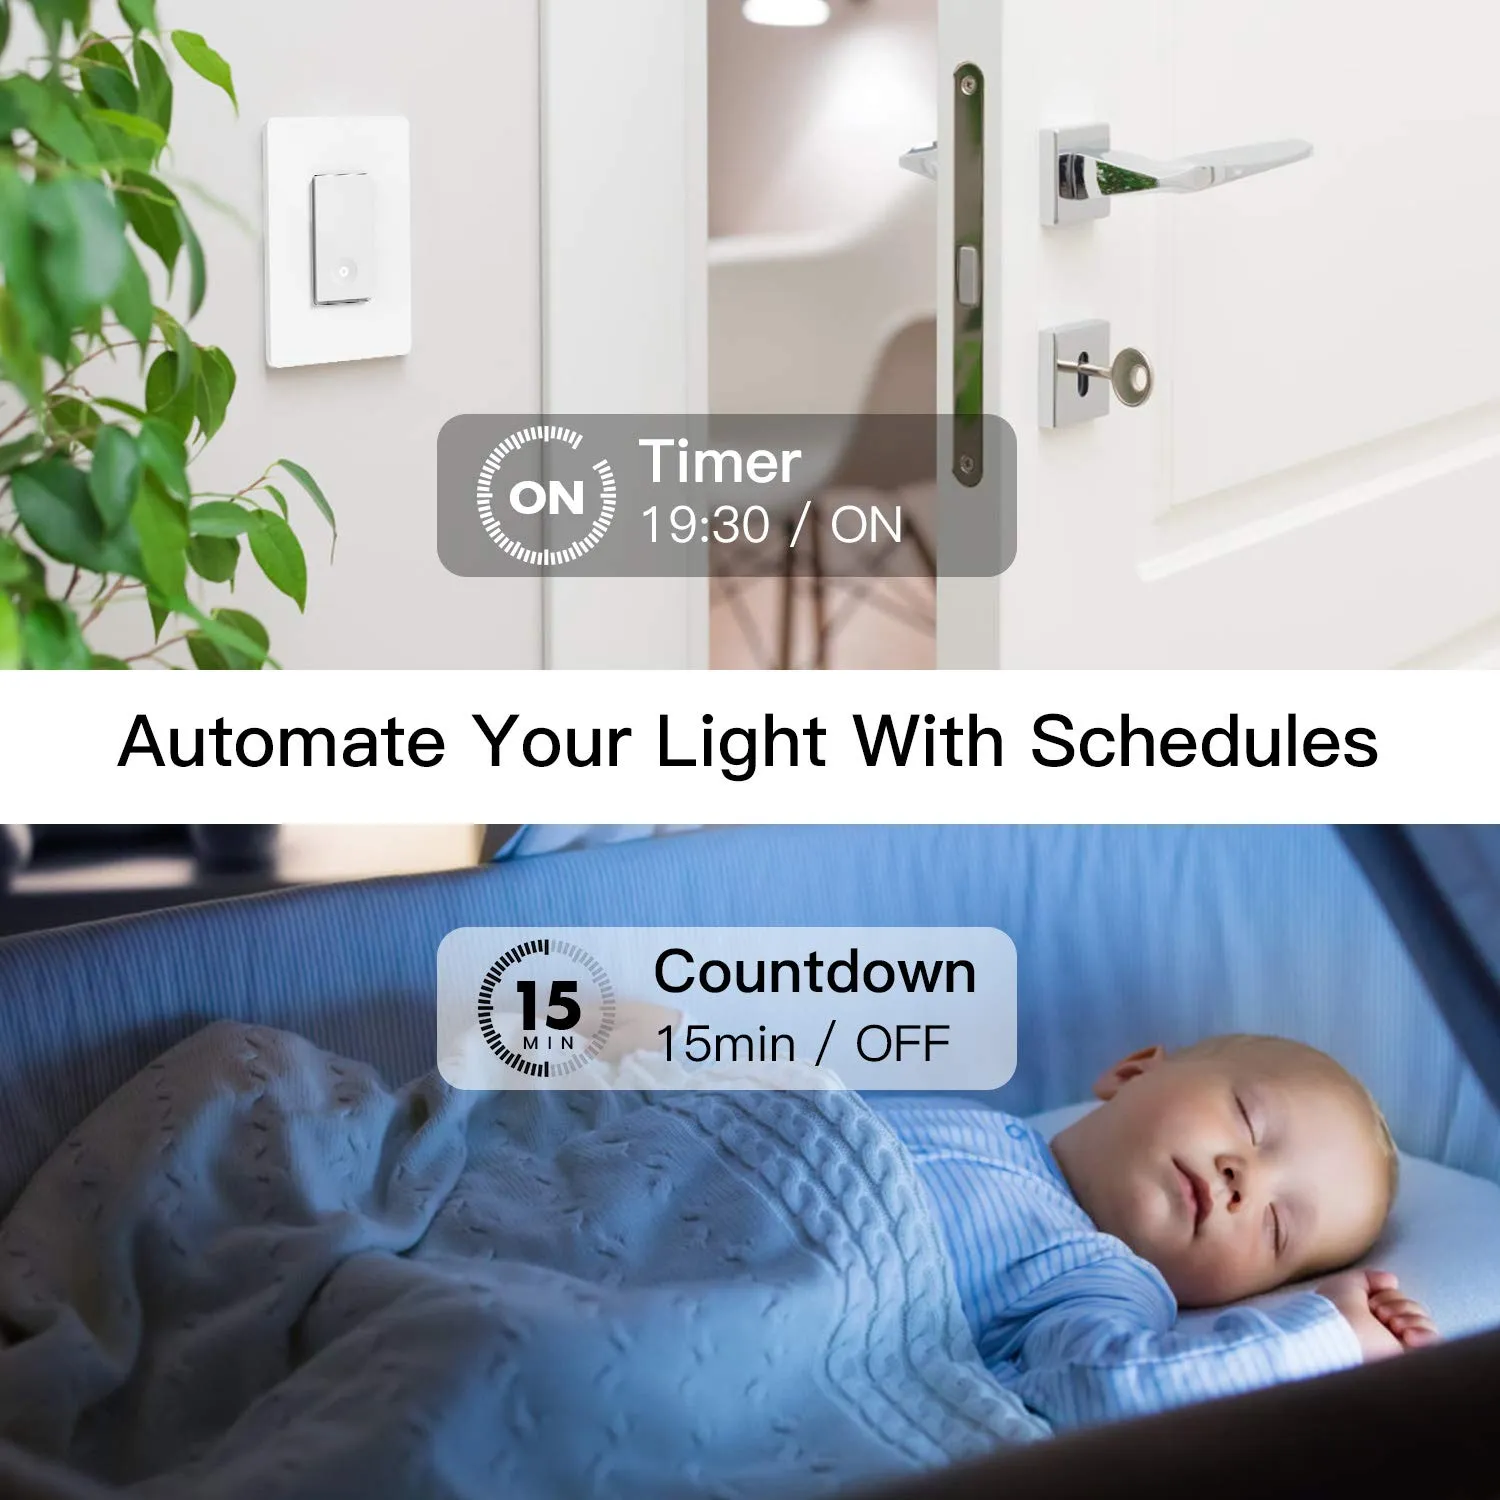
- AUTOMATED SCHEDULES: Create schedules (timer or countdown) to automatically turn on and off the light based on everyday routines or to simulate occupancy while you are on vacation to trick potential intruders.
- WARRANTY: 2-year quality warranty, 90-day money back guarantee and lifetime customer support. Please contact us if you have any questions about your bulb types, installation or Wi-Fi connections.
|
|
|
|
|---|---|---|
First step: pull out the old switchUnscrew the old switch, and pull it out of wall. Don't remove any wires Caution: Make sure the power to every switch you are replacing has been turned off. Please call a professional electrician if you are not familiar with electrical work. |
Second step: find the neutral wiresA neutral wire is required to install the smart switch. Make sure there are Neutral wires( mostly like a bundle of one or more white wires) in the wall. Unless you are replacing an existing smart switch, it's not probably not connected to your old switch. Label the neutral and ground wire in the wall with the stickers in the package |
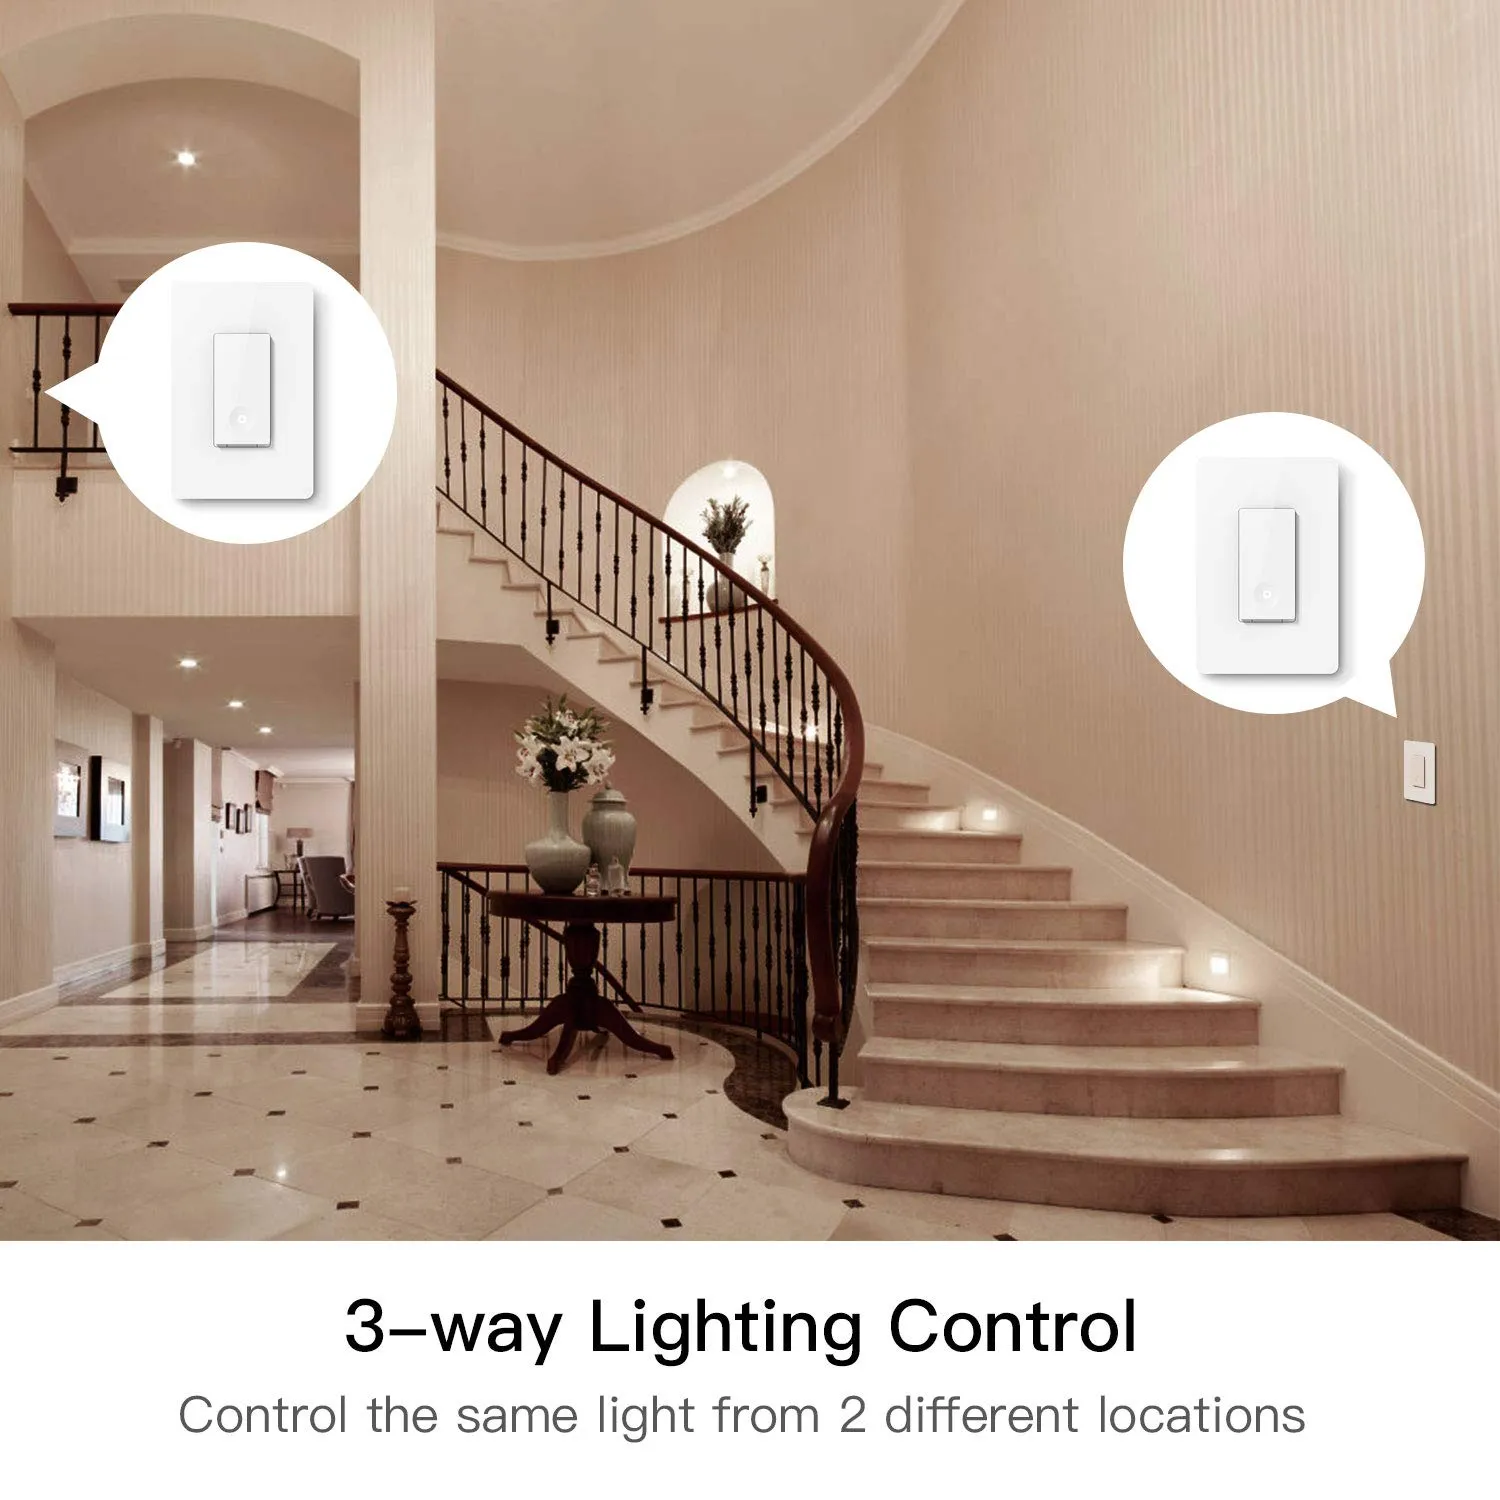
Third step: 3 way installationConnect Neutral, Ground, Line/Load wires: Use wire nuts to connect these different wires from Treatlife light switch to labelled wires coming from the wall. Connect Traveler wires: Use wire nuts to connect the RED wires from the switch to the Traveler wires coming from the wall. |


